No Bad Memories
My work → ConnectedNES
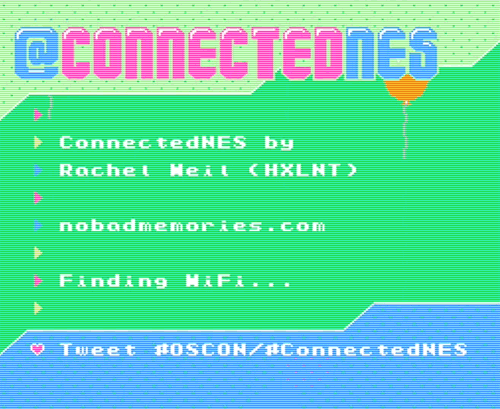
ConnectedNES is an open-source project released in May 2016 that connects the 8-bit NES game console to the internet with a custom WiFi "modem" you can build yourself! It is currently bundled with a realtime Twitter client but has the potential to be expanded to a collaborative platform.
ConnectedNES is comprised of:
- a standard-issue Nintendo Entertainment System, ca. 1985,
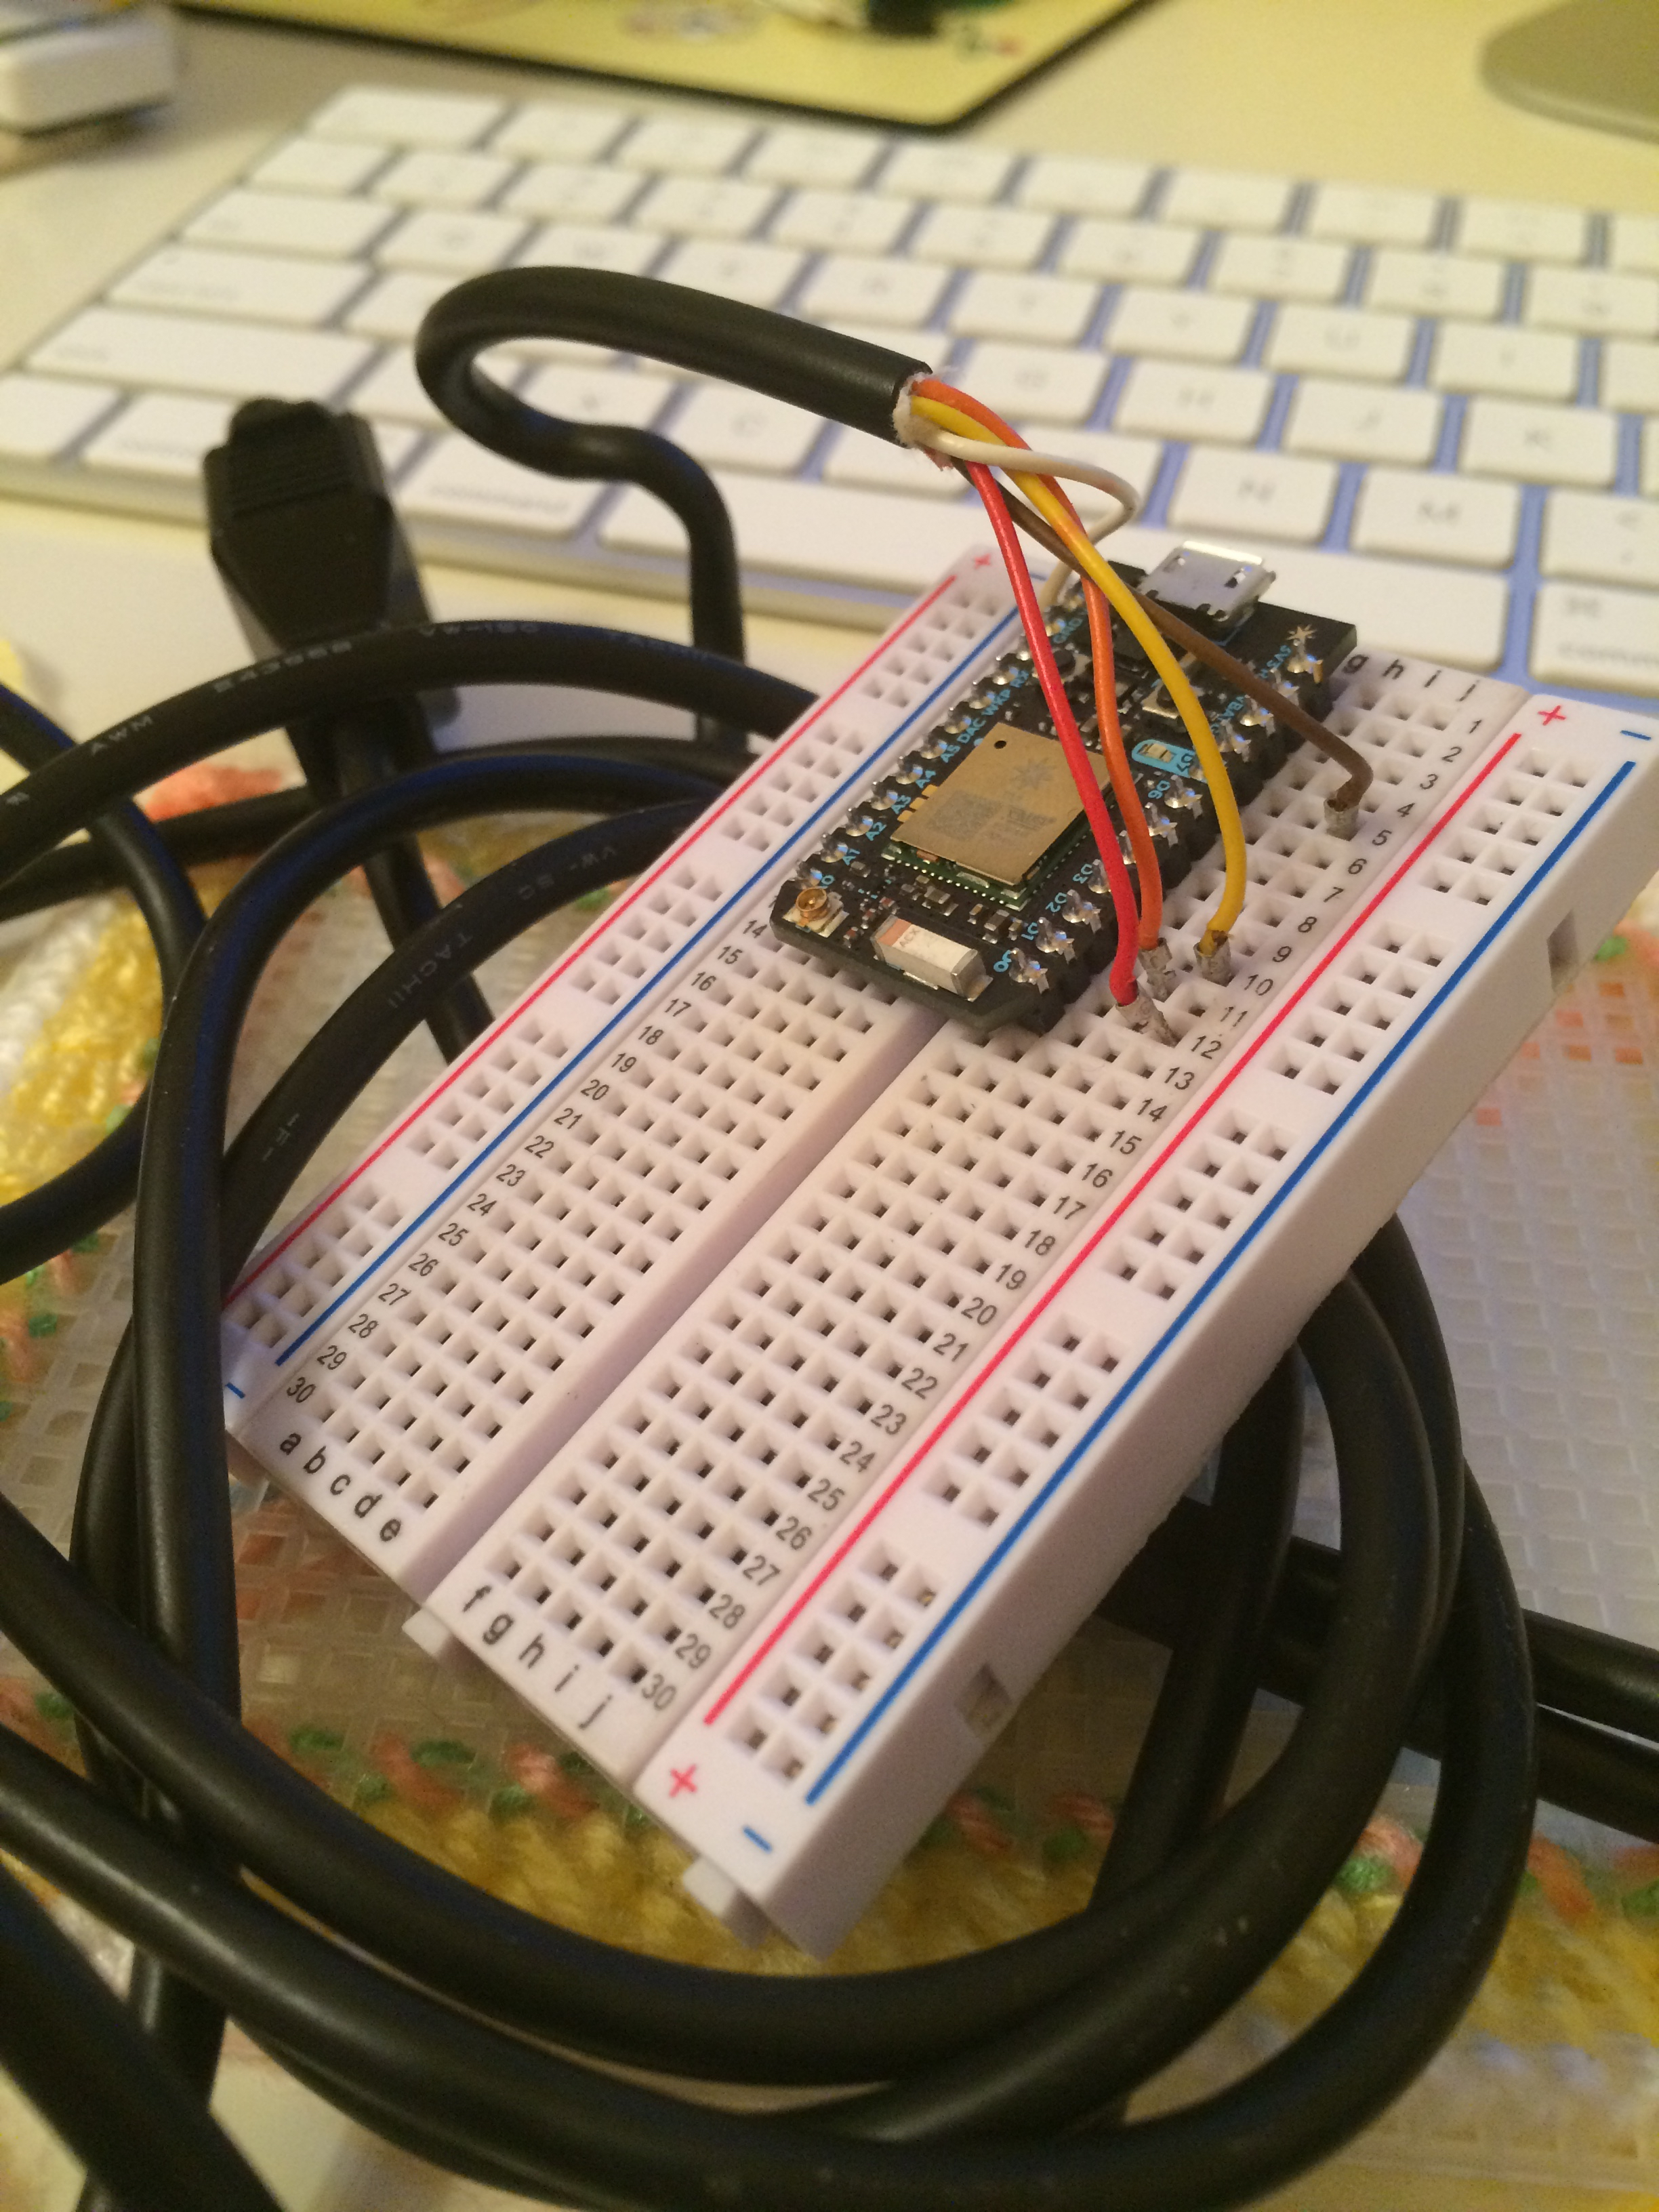
- a custom wireless "modem" (no, it's not really a modem, but it's fun to call it one) for the NES built with a Particle Photon, custom firmware, and hacked parts of an NES controller,
- a node.js server backend to process internet data (mine's hosted on Azure, and
- custom NES ROMs designed to process and display internet data such as the ConnectedNES Twitter client.
ConnectedNES is written across three languages: Javascript, Arduino C/C++, and 6502 Assembly.

How does ConnectedNES work?
When you play NES games, you press buttons on the controller, and the controller in turn sends a signal made of bits (1s and 0s) through the controller cable and into the NES console. These bits indicate which buttons were pressed or not pressed, and this information is then used to control the game. As it turns out, tweets, images, and other digital content is also made up of bits. What if we could use the controller port to stream different kinds of data into the NES? We'd have something a lot like ConnectedNES!
Here's a breakdown of how the ConnectedNES Twitter client works:
-
A custom node.js server running on Azure hooks into Twitter's streaming API and listens for tweets matching certain keywords (currently, "OSCON" and "ConnectedNES").
-
When a matching tweet appears, the node.js server figures out the best way to chop up the tweet into six lines that contain no more than 24 characters each. It also does some additional text parsing to display the username, date, and timestamp associated with the tweet.
-
The modified tweet data is sent via the cloud to a Particle Photon containing custom firmware. (Particle has its own cloud-based event streaming protocol.) On the Photon, the tweet data is represented as an array of bytes.
-
Some of the digital pins on the Photon are wired to an NES controller cable. (The Photon is powered via the controller cable, so no additional power supply is needed.) The data is written to those pins and, as far as the NES can tell, it begins to receive a very rapid stream of "button presses." But as we know, those "button presses" actually represent a tweet!
-
Inside the NES is a custom cartridge containing a "game" that displays the incoming data. The NES cannot natively display ASCII characters, so graphical tiles representing the basic ASCII table must be included in the custom NES ROM. I've also added pretty little animated balloons and things.
Does ConnectedNES do anything aside from display tweets?
Presently, the firmware and software are set up to display a predetermined Twitter feed, which… is really freakin' cool because my goodness, there's a Twitter feed on my NES! But in the future, I plan to modify the code so that it's more customizable for other internet-connected applications, making it a true platform that anyone can use (without having to learn 6502 Assembly)!
How did ConnectedNES come to be?
In 2015, my good friend and fellow console-hacker Andy Reitano stayed with me for a few days, and—per our custom—we decided to build something funny together. We have a great time talking about our highly obscure programming hobby and even more fun putting it to good use. I loved the idea of having a game as iconic and canonical as Super Mario Bros. be just, like, weirdly interrupted by a Twitter notification ticker. And I knew Andy had made something called NES Transfer Tool, a protocol for streaming data from a laptop through the NES's controller port. (Yes, all the credit for that clever idea goes rightly to him.) And then it occurred to me that the Particle Photon could make the whole thing wireless... and thus Social Media Bros. was born, giving us in-game Twitter notifications on the original Super Mario Bros. cartridge.
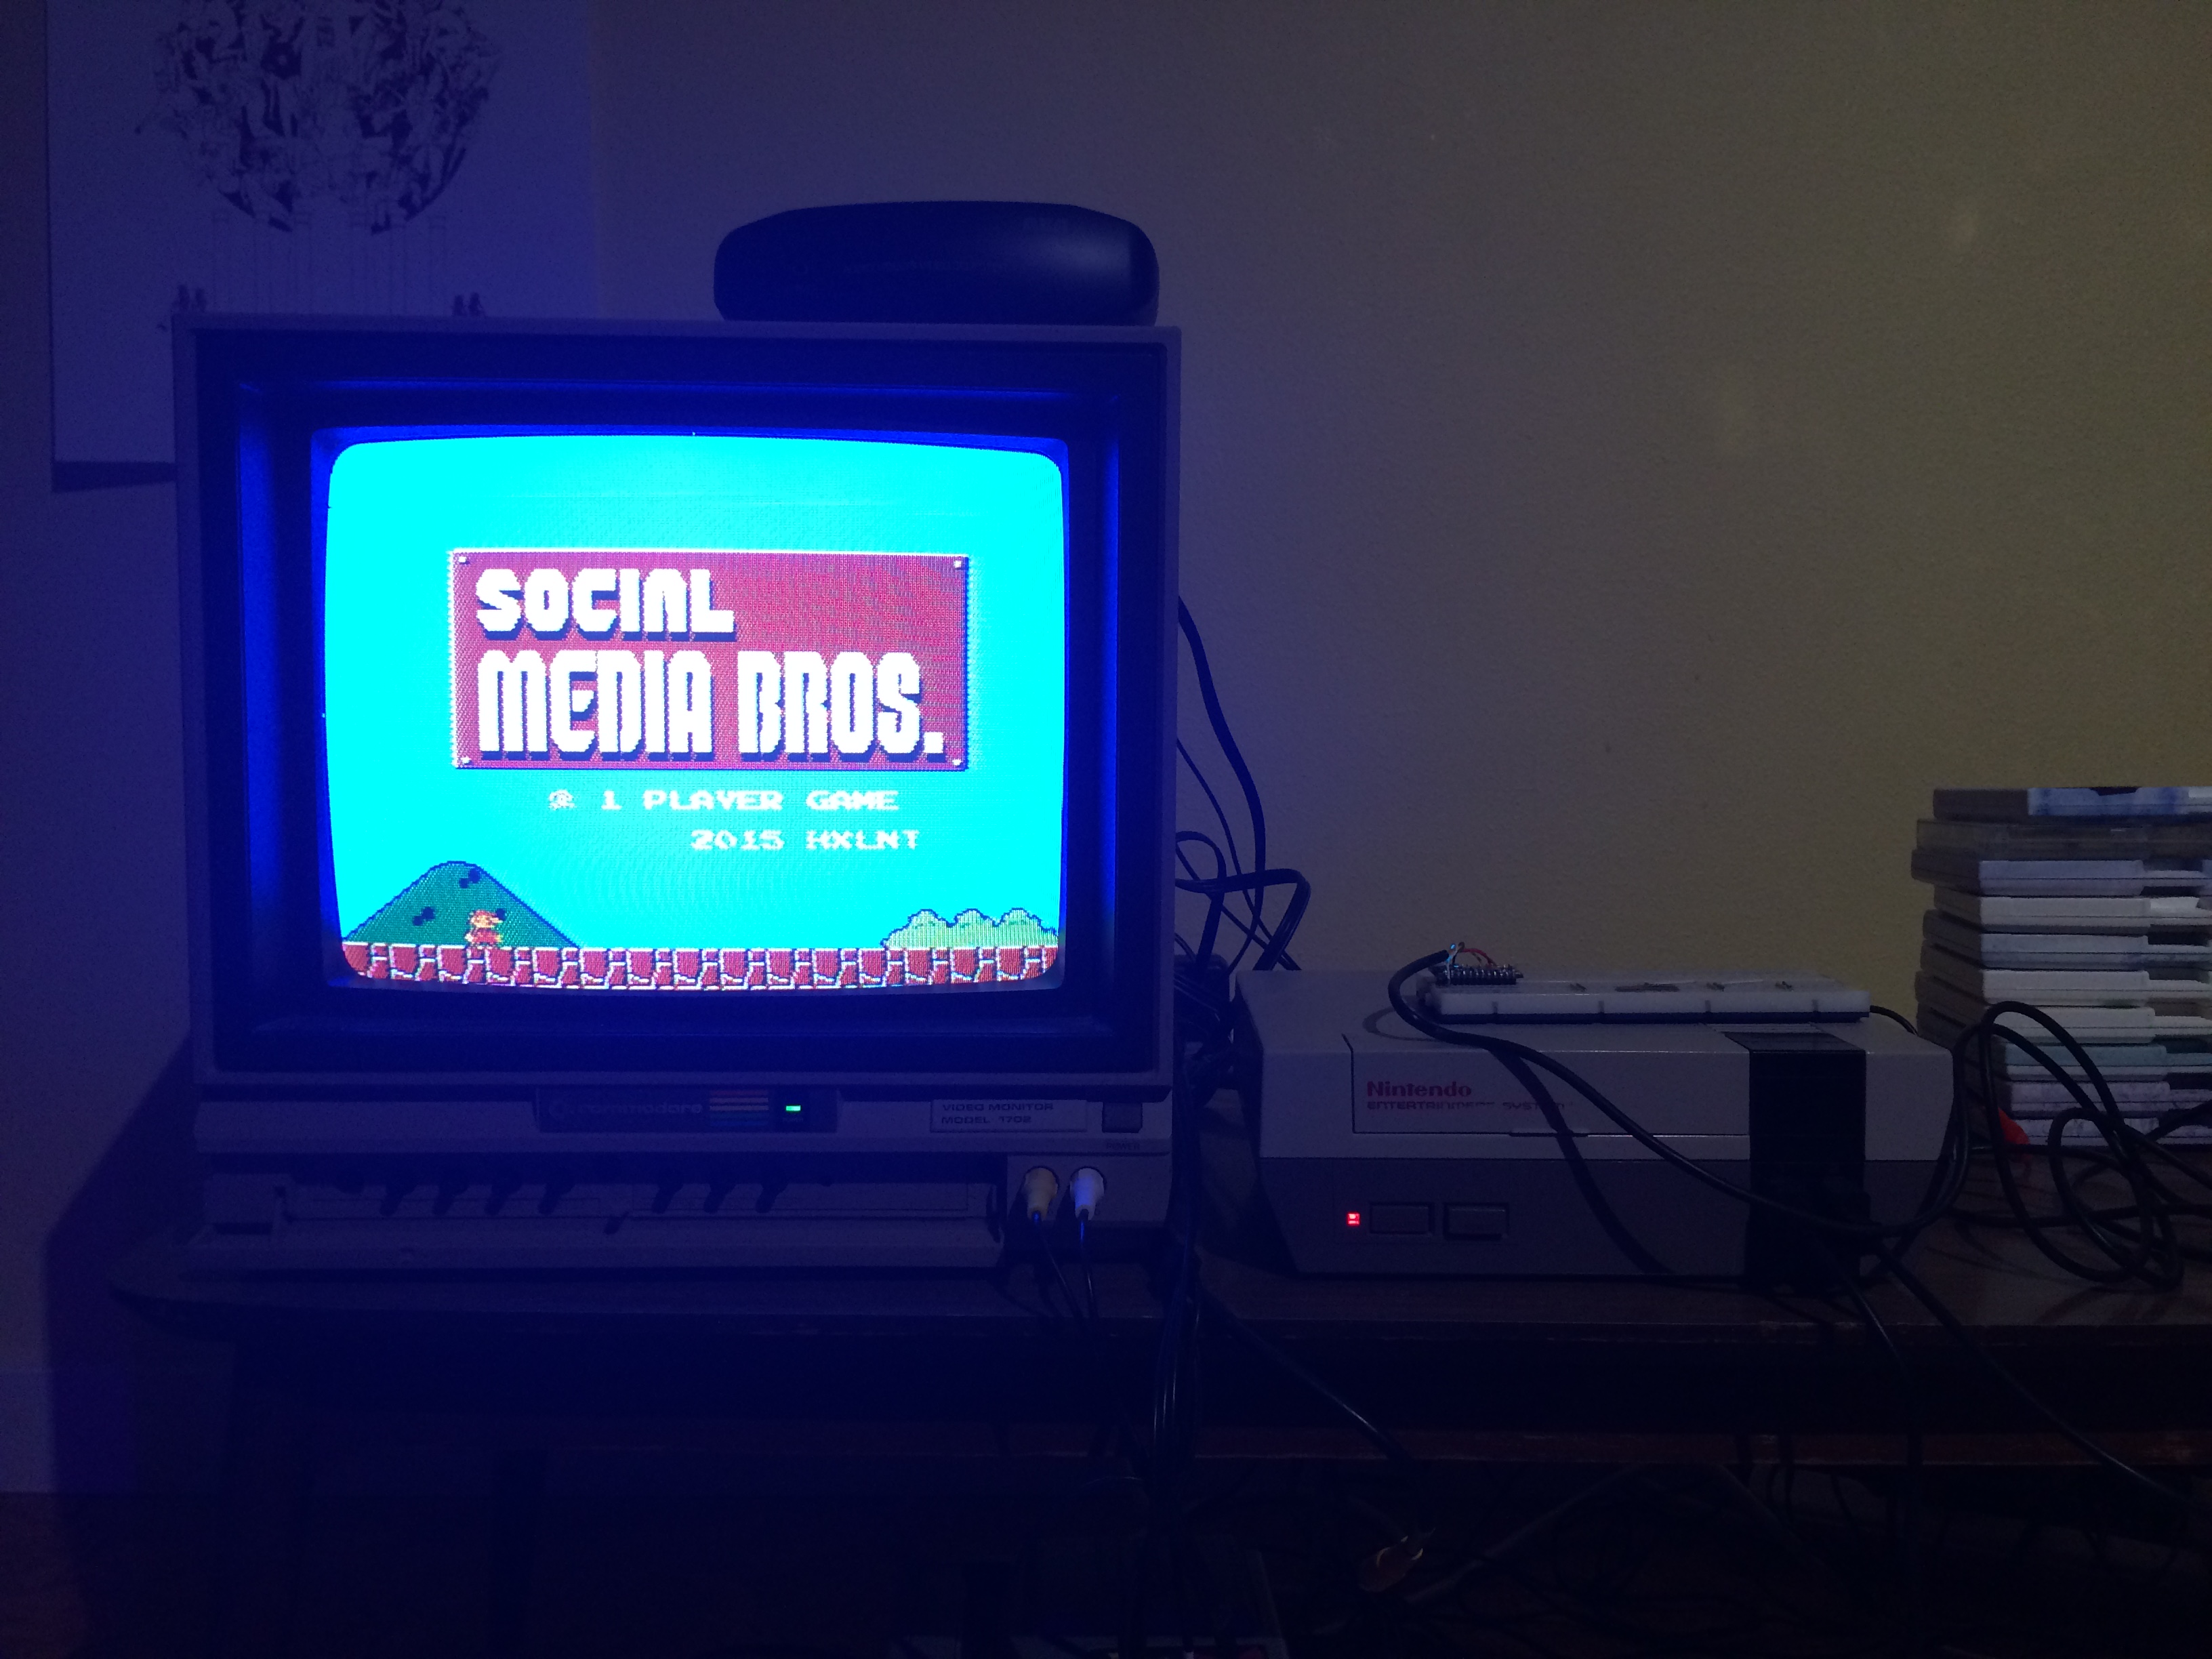
There were some interesting challenges in putting together this project. I worked from the disassembly of Super Mario Bros., commenting out code to gain enough bytes to write in new assembly subroutines. Luigi had to be removed from the game to accomodate the "modem." (Sorry, Green Mario!) For those who are familiar with the technical limitations of the NES, I also had to be careful to retain the "Sprite 0" pixel that keeps the status bar static at the top of the screen. In Super Mario Bros., that pixel is contained in the floating coin, which I didn't exactly want in my Twitter display.
One of the biggest ways in which Social Media Bros. was lacking was in the way it grabbed twitter data. We ended up doing a hacky thing with IFTTT that was slow and limited. (I do actually like IFTTT, but it's not the right solution for up-to-the-minute twitter notifications.) The node server that I built for ConnectedNES can do a lot more, and in the blink of an eye. Believe it or not, tweets print to the NES pretty much instantaneously.
Does ConnectedNES work in an emulator?
The ROM will load in an emulator, but I doubt if the modified controller would work with a USB adapter. Besides, having it run on original hardware is 99% of the fun! (Debugging Javascript is the other 1%.)
How can we all build our own ConnectedNES setups?
I plan to create more specific tutorials soon, but in the meantime, you can grab the source on GitHub. There are three sets of code: the node server, which you need to host locally or remotely, the Photon firmware, which you need to flash to a Photon board, and the NES code. You can take the compiled ROM included on GitHub and put it on an NES flash cart like the PowerPak, or you could solder together your own cart. You can change which terms are monitored in the twitter feed in the node server code–just replace "OSCON" and "ConnectedNES" with whatever you like. Changing the ROM to match would be a little more challenging, but maybe you can figure it out! Finally, you'll need to build the "modem" using the Photon and an NES controller cable. If you look at the Photon firmware and the photo above, you can probably see how it's all wired up. It plugs in to the second controller port on the NES.
What's next for ConnectedNES?
As you can see, ConnectedNES is in an early "hey, that's neat!" phase. I'd like to expand it in order to make it a more collaborative platform. My next steps are to:
- Make some video tutorials showing how to put together the server, Photon firmware, "modem," and NES ROM,
- Connect with fellow members of the NES homebrew community to see if others might want to write custom ROMS,
- Add features such as displaying WiFi connectivity errors, sound, etc., and most importantly,
- Modify the code to make it more accessible to a wide array of coders with minimal technical investment and maximum fun!
Have more questions or want to feature ConnectedNES in your blog, magazine, conference, or fancy tea party? Get in touch with me via twitter.