No Bad Memories
Studio → Blog
Printmaking as play
Posted Tuesday, May 17, 2022
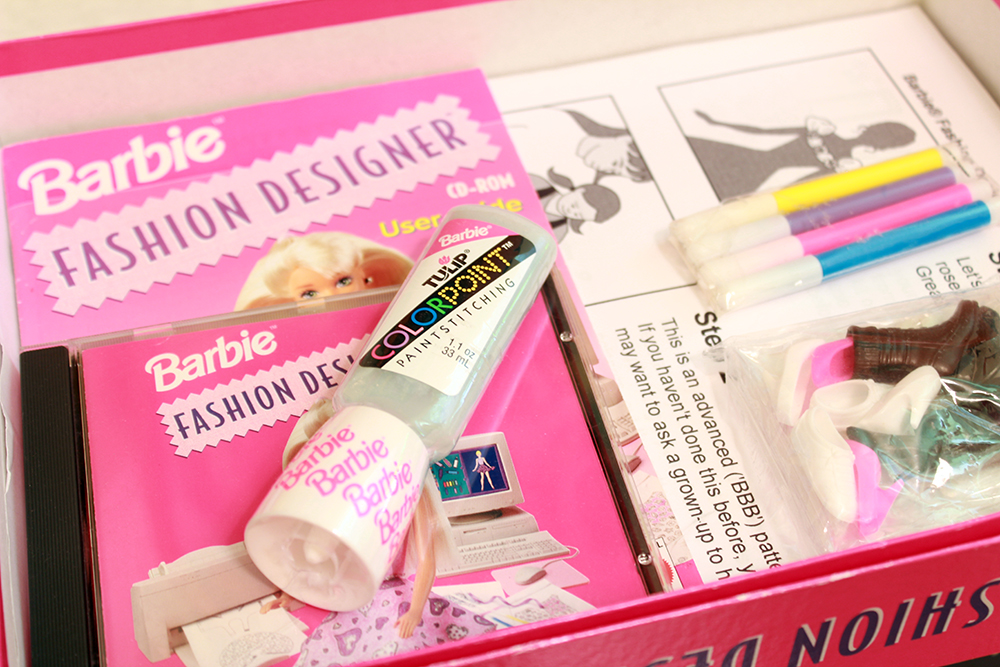
As you might know from my past research on the sticker-printing Casio Loopy game console and Barbie Fashion Designer, I have a special interest in games and toys that incorporate printing or image making as a play mechanic.
Printmaking toys make creation immediate, convenient, and playful, often at the expense of the quality, quantity, permanence, or general perceived value of the resulting image. Toys require neither prerequisite training nor access to specialty facilities.
For me, these are benefits printmaking toys have over their "real" counterparts. Like Sadie Benning with the Fisher-Price Pixelvision camera or Nullsleep with the Nintendo Game Boy, I'm drawn to the use of post-consumer toys to achieve activist, countercultural, and recuperative ends.

Recently, I became curious about the space between printmaking toy and printmaking instrument, and whether I could create something for my own use that was suitably simple, expressive, and, of course, fun.
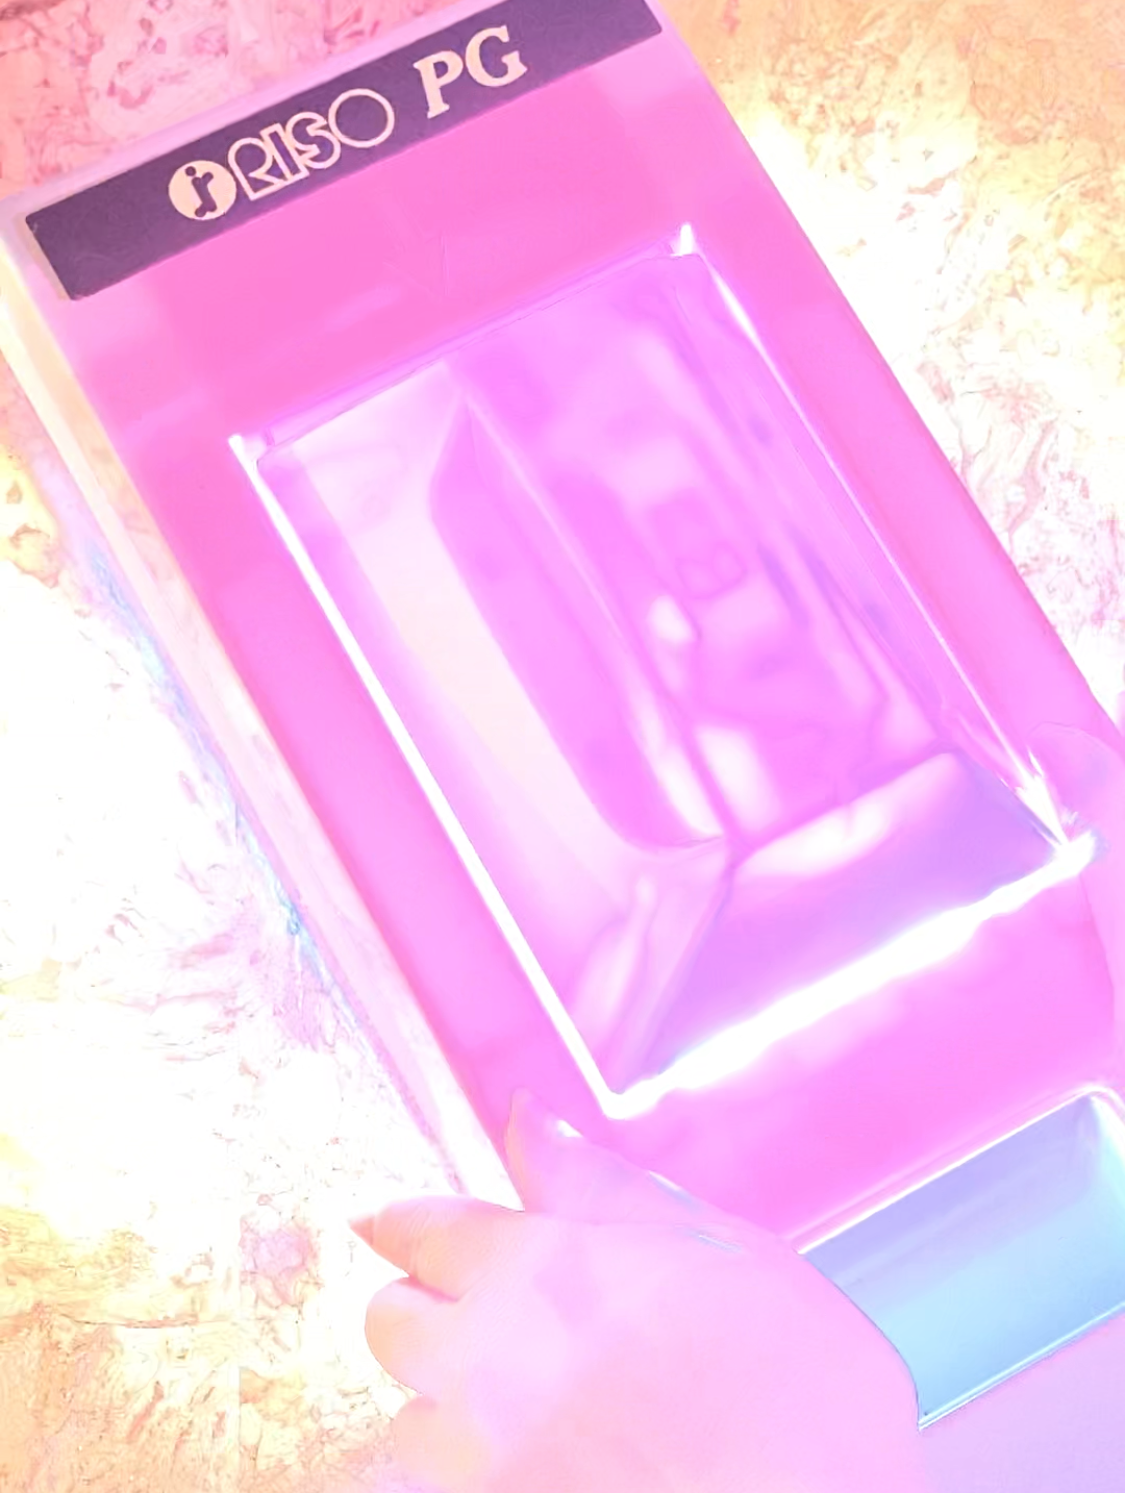
Close, but not quite: Print Gocco
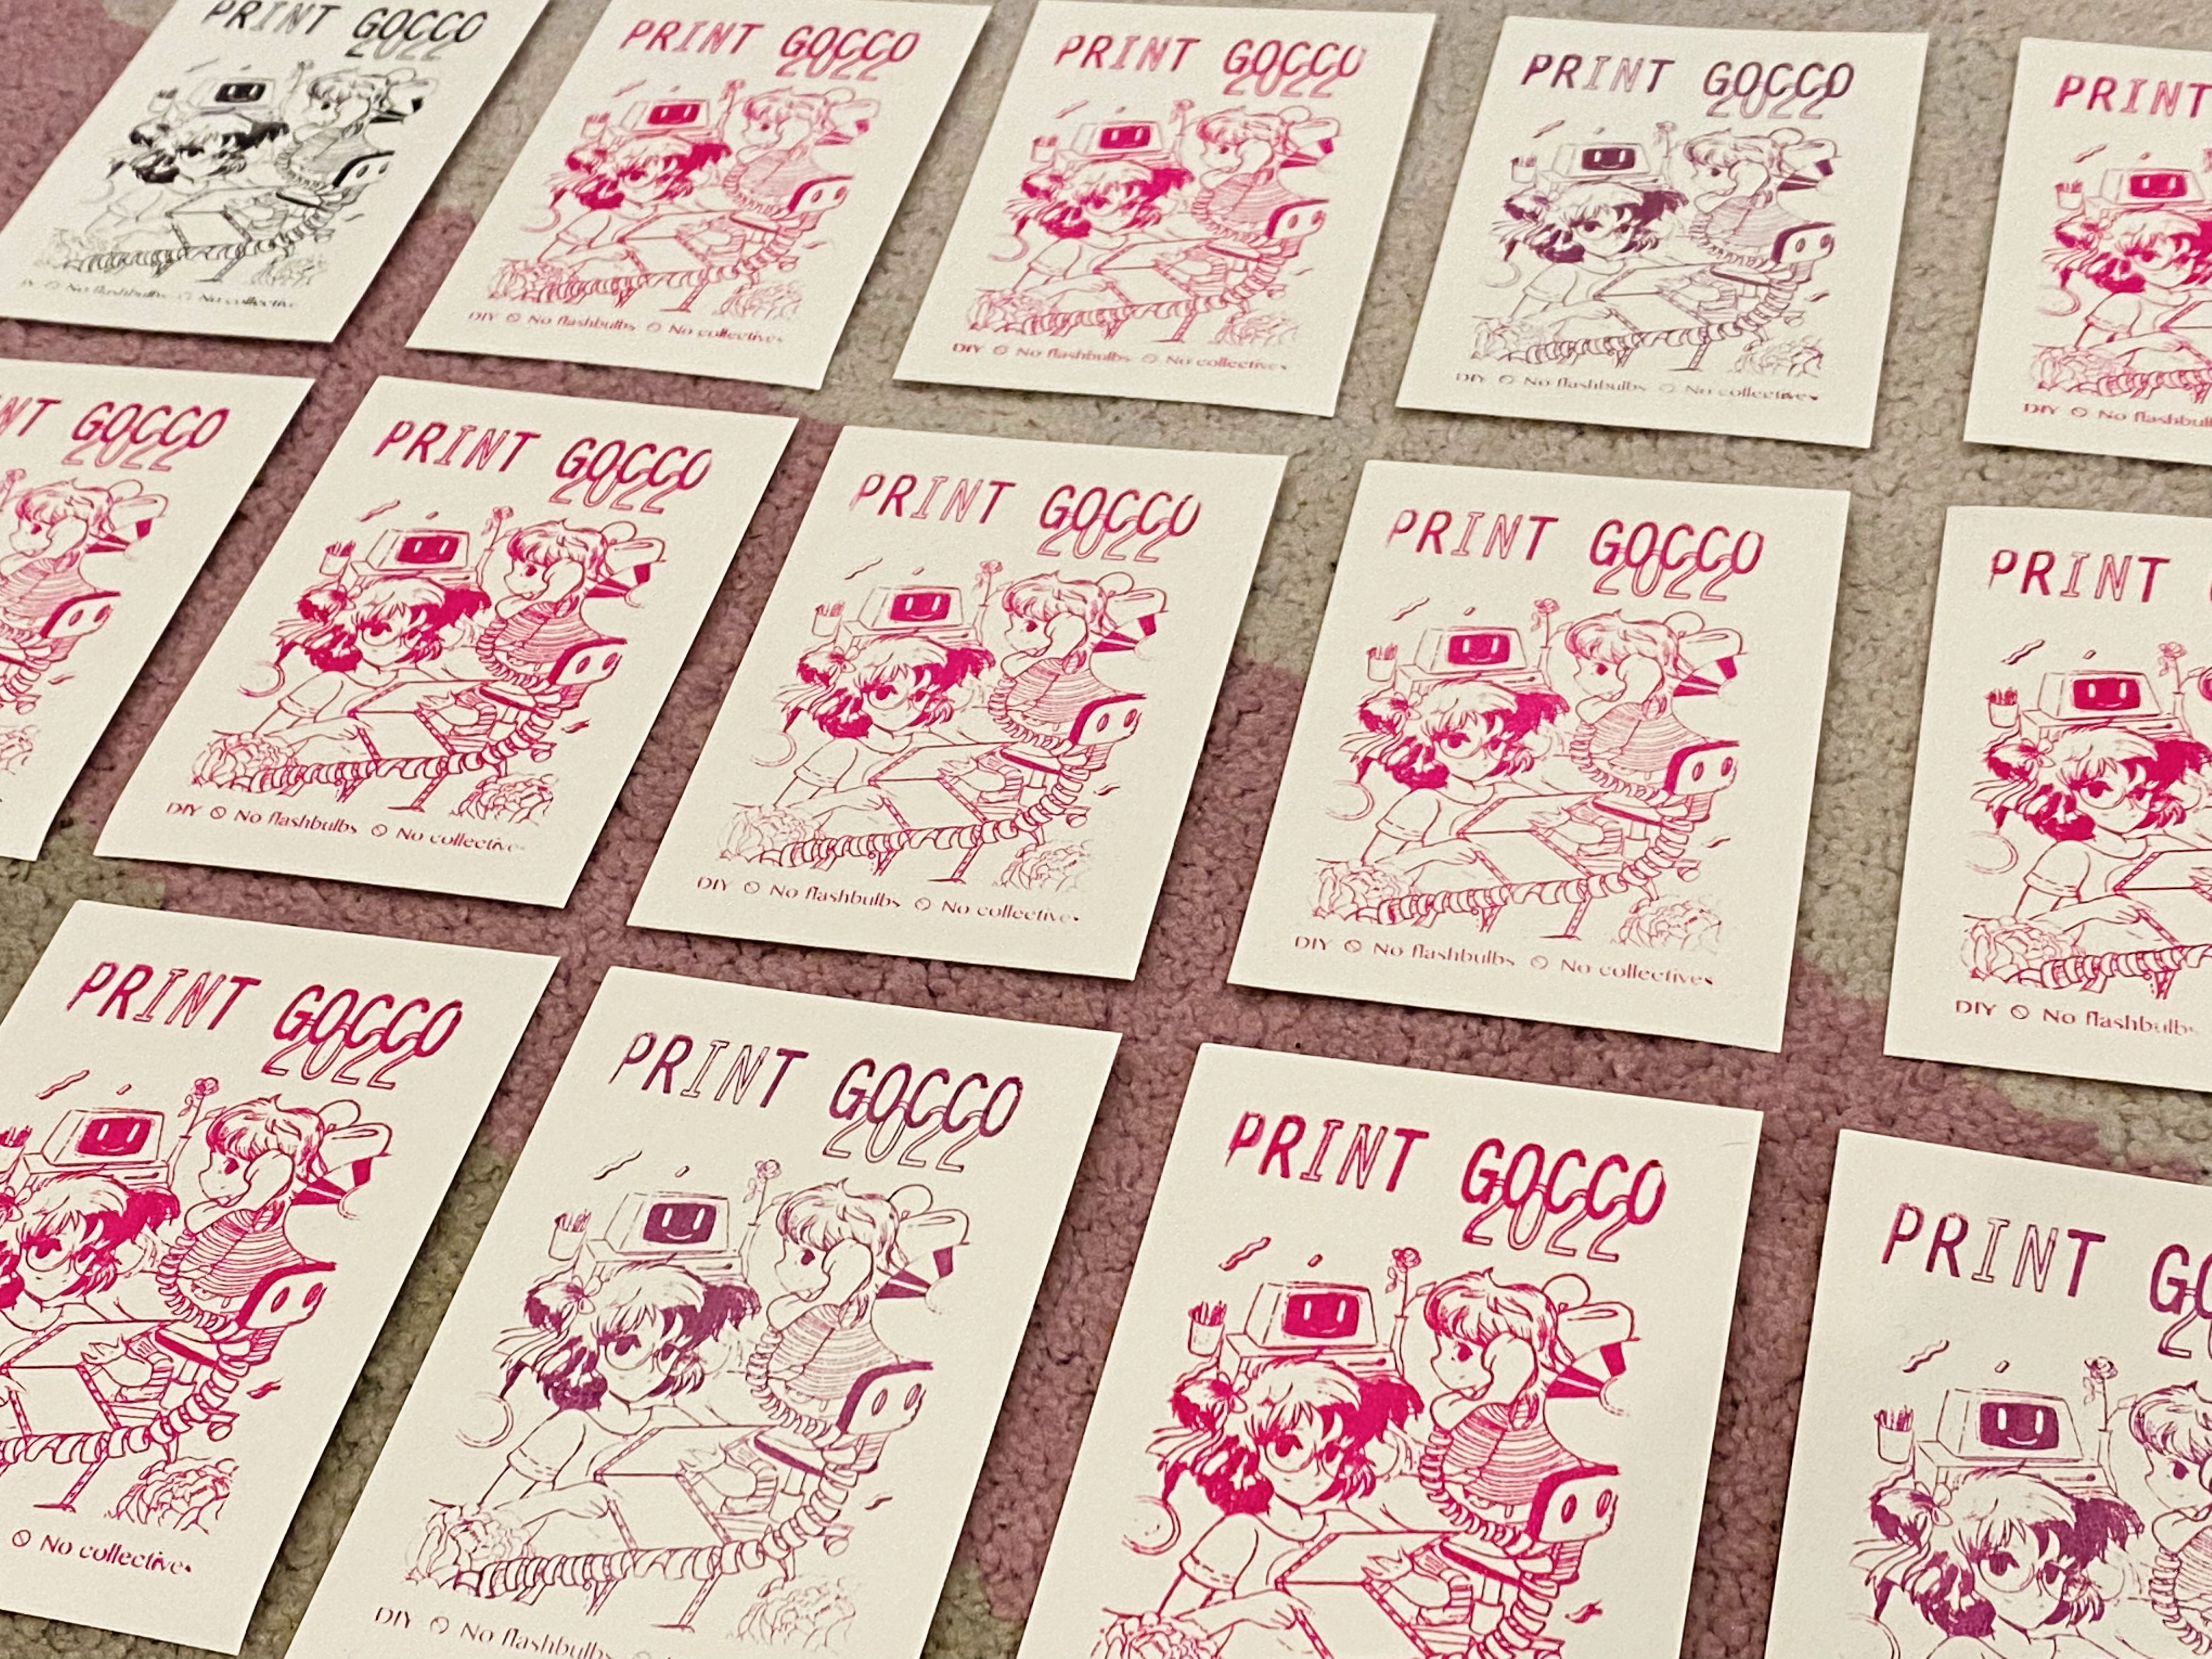
The Print Gocco was a popular at-home printing device produced by Japanese company Riso Kagaku starting in the late 1970s. The process was something like stamping-meets-screenprinting and allowed users to produce small color prints for greeting cards and textiles. While marketed to adults, its chunky design and ease of use gave it a toy-like quality. It's believed that at the height of its popularity, one of three Japanese homes had a Print Gocco device.
I learned about the Print Gocco in the mid-2000s, just as it was being discontinued by the manufacturer. Jill Bliss had just begun the grassroots "Save Gocco" campaign, and an online market developed for remaining deadstock of the device's proprietary consumables.
Seeing my interest in the device, my partner very thoughtfully gifted me a complete Print Gocco set from eBay, which I promptly... stored away for years. After all, the consumables are getting so hard to find! It's collectible! It wasn't until I saw a second Print Gocco at a local resale shop a few months ago that I was inspired to pull mine out of its unnecessary retirement and put it to use.
The Print Gocco is very easy to use, relatively tidy, and produces acceptable, if not quirky, color prints. The device is also compact and portable, powered only by two AA batteries. Unlike the time-intensive process of making silkscreen masters with photosensitive emulsions, UV lamps, and so on, Print Gocco master production is fast, mess-free, and can be made from a simple black-and-white photocopy on plain paper.
These are two prints from my first use of the Print Gocco, featuring a lovely illustration made for me by Gabrielle Genevieve. All colors were imprinted in a single pass, made possible by the fact that the inks have a firm consistency and are resistant to blending when pressed.
This image was a challenge for the Print Gocco: there is considerable smudging (top) and veining (top right, bottom left) due to some overinking and the print density of the image.
From my perspective, the Print Gocco system hits an excellent sweet spot between playful and professional. However, it does have some drawbacks:
- It requires the use of hard-to-find proprietary consumables—Print Gocco masters, inks, and flashbulbs, etc.—all of which have not been produced for decades.
- Print Gocco masters and flashbulbs are single use. (The flashbulbs literally explode when fired.)
- The flashbulb burst and inks smell absolutely awful. The inks' ingredients are not listed, but I suspect they are made of pigment suspended in a soybean oil carrier that, after a few decades, has now gone rancid.
- While delicate designs with text or medium-fine lines look OK, the quality can be variable, especially with more densely-colored images that cause ink to pool, creating visible veins when the master is pressed or smudges when released.
So, could we improve on the Print Gocco?
Print Gocco's more professional friend: the Risograph
The company that produced the Print Gocco, Riso Kagaku, is still in operation. Today, they're best known for their line of Risograph machines: sophisticated, digitized Print Goccos that work and look more like commercial copy machines and produce high-resolution poster-size prints. In recent years, Risograph printing has seen a surge of interest among a cohort of illustrators, designers, and zinesters who laud its economical per-print price and distinctive look. Like tube amplifiers, Risograph printing is often described by its fans in terms of its imperfections, constraints, and "analog" or "warm" qualities.

While I do question some of the aesthetic romanticization of the Risograph, I am admittedly drawn to the look of Risograph prints, too. The bright, lightly-speckled ink on newsprint-like paper reminded me of... something. The Barbie comic books I read as a child, maybe?
I took a Risograph workshop offered at a local university a few years ago and appreciated how quick and easy the process was compared to letterpress and screenprinting. I came home inspired, wondering how I could do more Risograph printing. Turns out: I couldn't. Not easily, at least.
Risograph machines aren't as ubiquitous as copy machines or digital press services. Where I live, there are only a handful of Risograph machines owned by universities and artist collectives, none of which offer Risograph printing to the public. I briefly had the idea to get together enough money to purchase a Risograph machine that could be made available in a local artspace as a community resource, but after I reached out to a licensed Riso dealer, the company literally sent two men in suits to my home to size me up and determine whether I was a "legitimate buyer."
Upon realizing I was not a commercial operation, they recommended some inkjet printers instead, declined to tell me how much a Risograph machine might cost, and finally stopped responding to my emails altogether.
In any case, the Risograph is too far from my current search for a simpler, toy-like printing experience. It's large, expensive, and requires lots of specialty equipment and maintenance. So on we go.
Retrofitting the Print Gocco
I began to wonder if the Print Gocco device could be retrofitted with other, more ordinary or readily-replenishable materials—modern inks, a reusable light source—that could offer improved sustainability and print quality.
My first thought was to replace the flashbulbs with a more consistent and tuneable light source: Arduino-controlled LED strips. Some research led me to find that someone had already done such a thing some years ago, using a photoreactive sheet called StencilPro in place of the Print Gocco master. StencilPro has since been discontinued, but the LED idea was interesting, and in the interest of changing a single variable at a time, I was curious to try it with an original Print Gocco master.
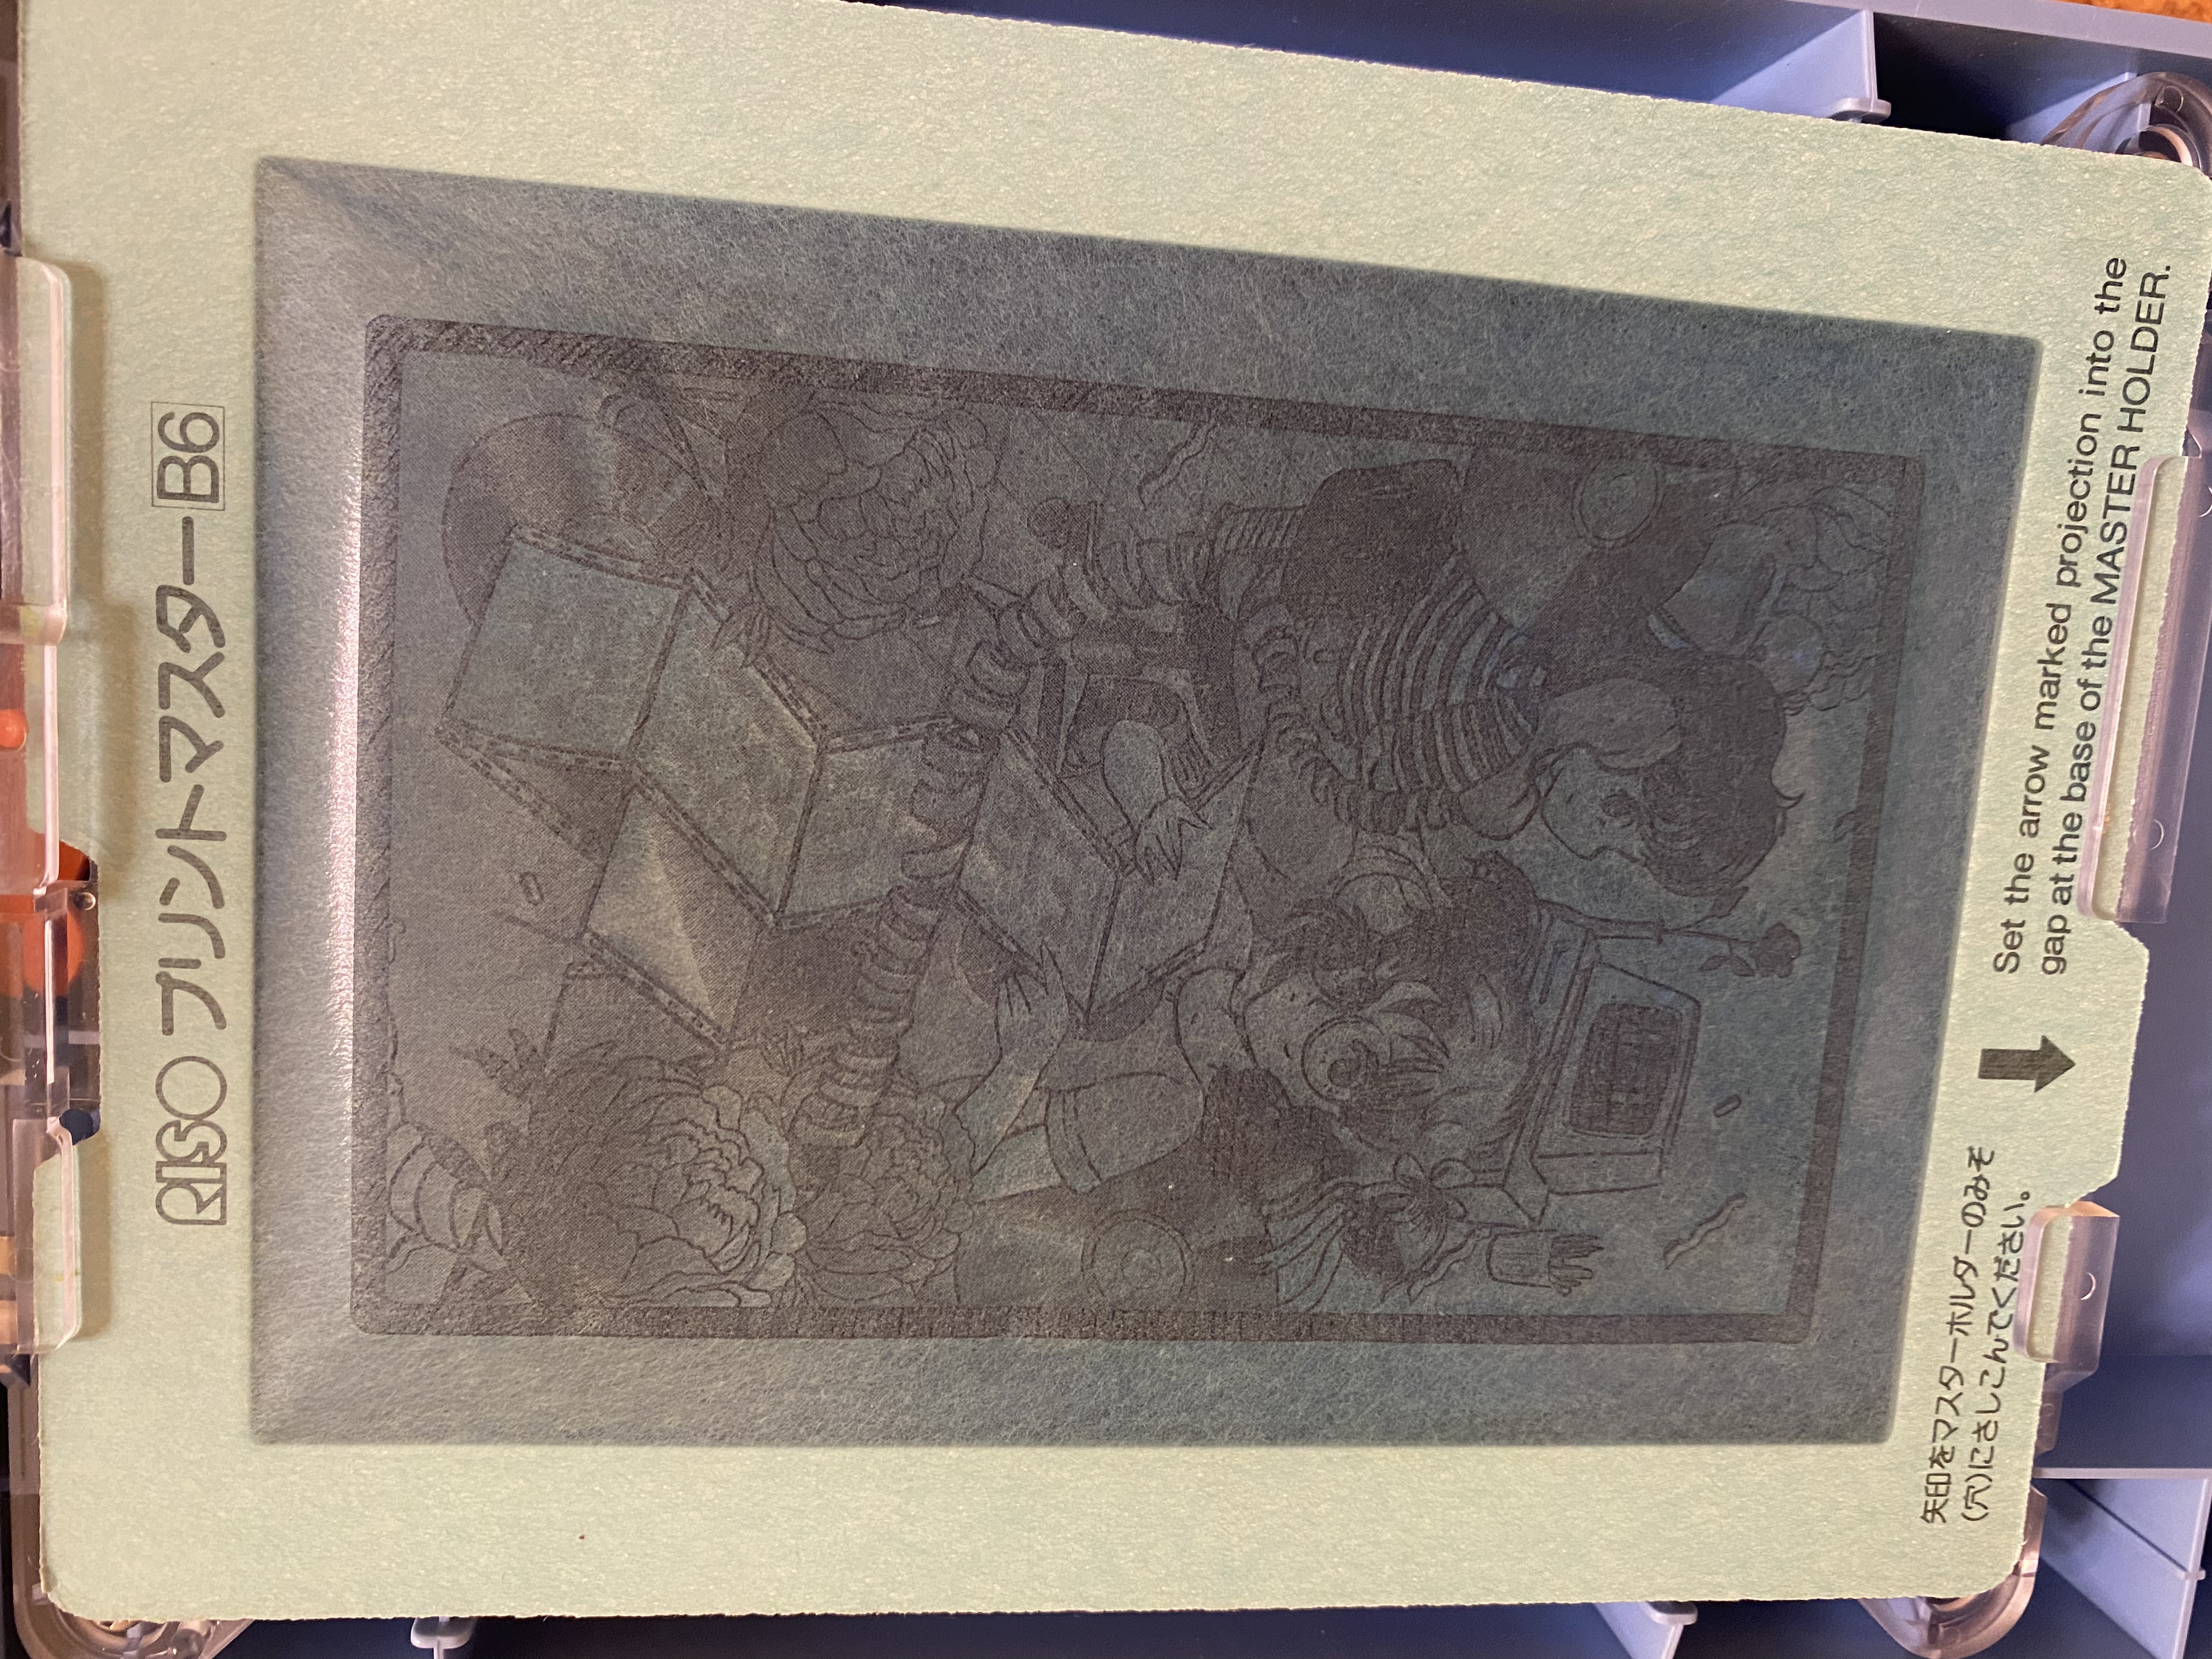
How Print Gocco masters work
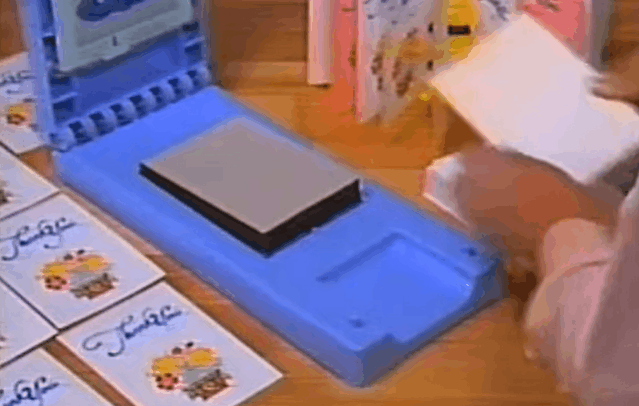
However, once I started researching the technical details behind the Print Gocco's functionality, I learned that the flashbulbs weren't originally used as a source of light in the device but as a source of heat.
The Print Gocco master is comprised of a thin paper sandwiched into a cardboard frame. One side of the paper is coated with a thermoplastic layer that is selectively melted away when the flashbulbs fire: Heat radiates from the carbon in the original image's photocopy toner and melts away the image portion.
I also learned that Risograph machines work on the same principle. Instead of using carboard frames that are pressed onto paper one at a time, the master material is wound on to a large roll inside the machine. A digital image is "printed" on the master material by a thermal head. An ink drum inks the uncoated side of the master, and paper is fed through rapidly, picking up the inked image as it rolls by.
Wait, so a Risograph is just a big receipt printer?
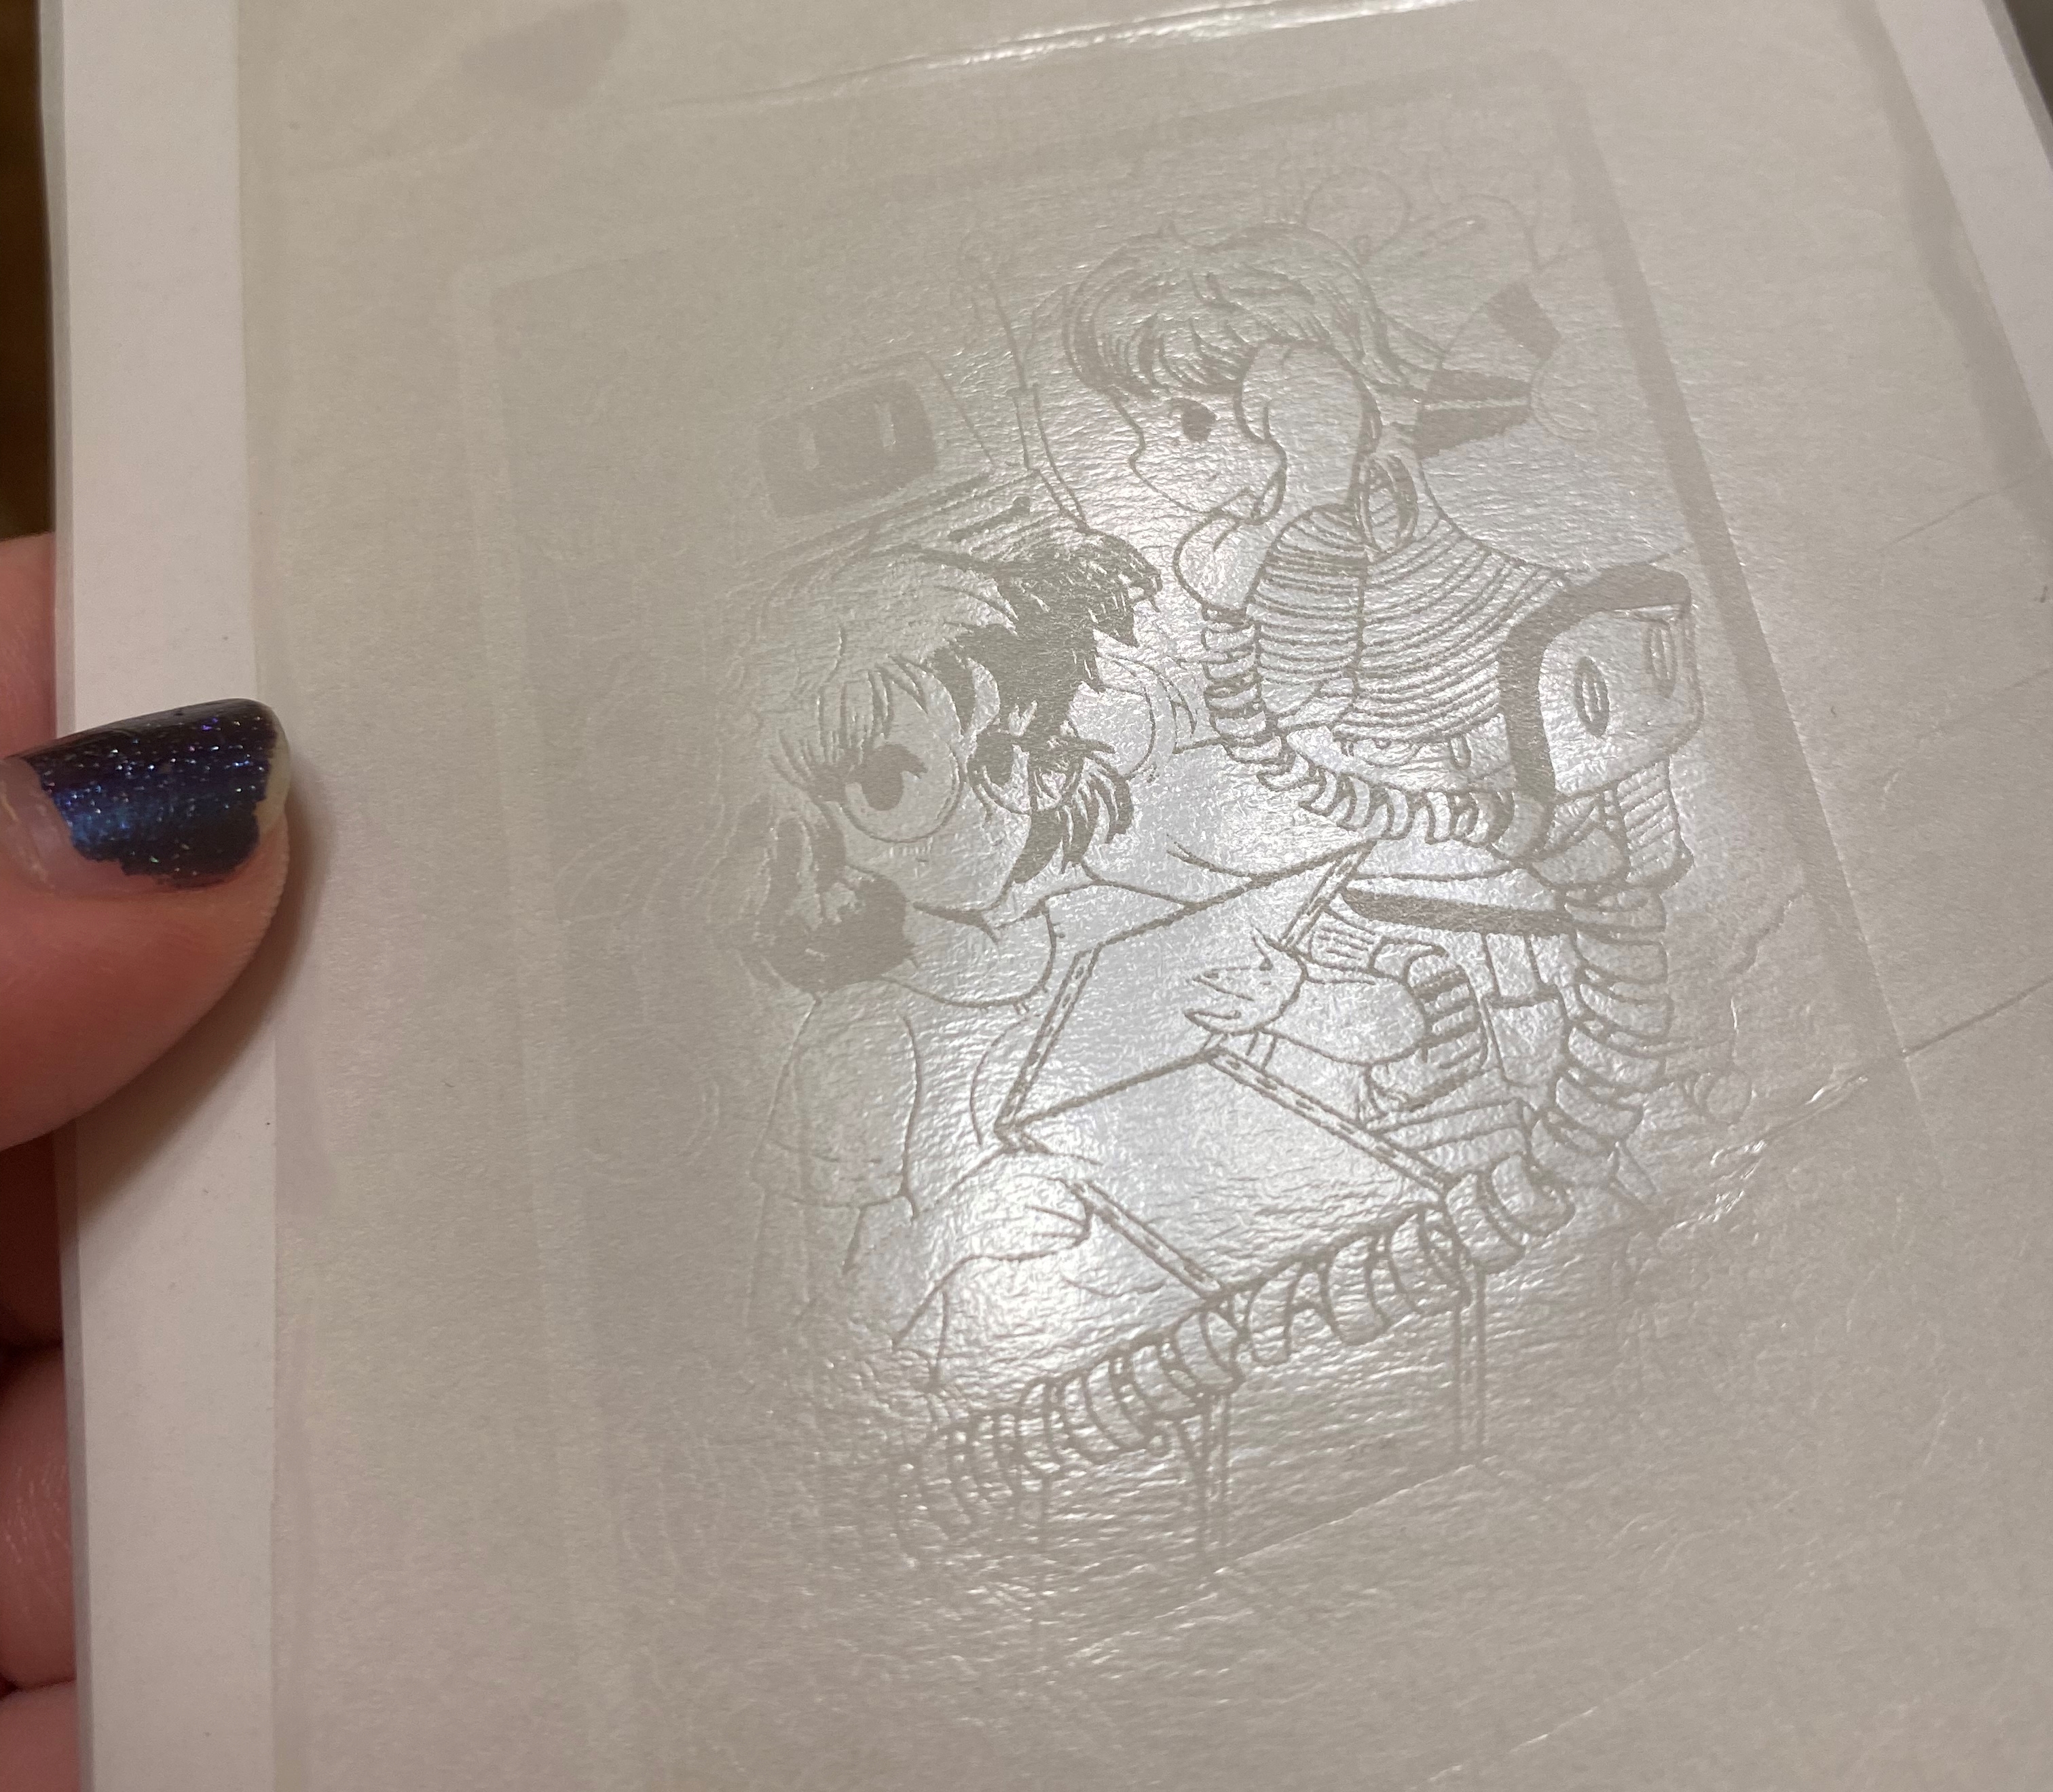
Most modern shipping label and receipt printers are thermal printers: they create an image on thermal paper rolls or stickers by selectively heating the top layer of white, revealing the black "ink" underneath. It was a big hunch, but I figured I might be able to feed a small piece of Risograph master paper into a thermal printer to develop it. In this way, I could theoretically create DIY Print Gocco masters at a higher resolution and without a need for flashbulbs. For about $100, I acquired a 300-DPI shipping label printer and a giant roll of Risograph master. I fully accepted the possibility that this whole thing was going to break, melt, or catch fire, but I had to know.
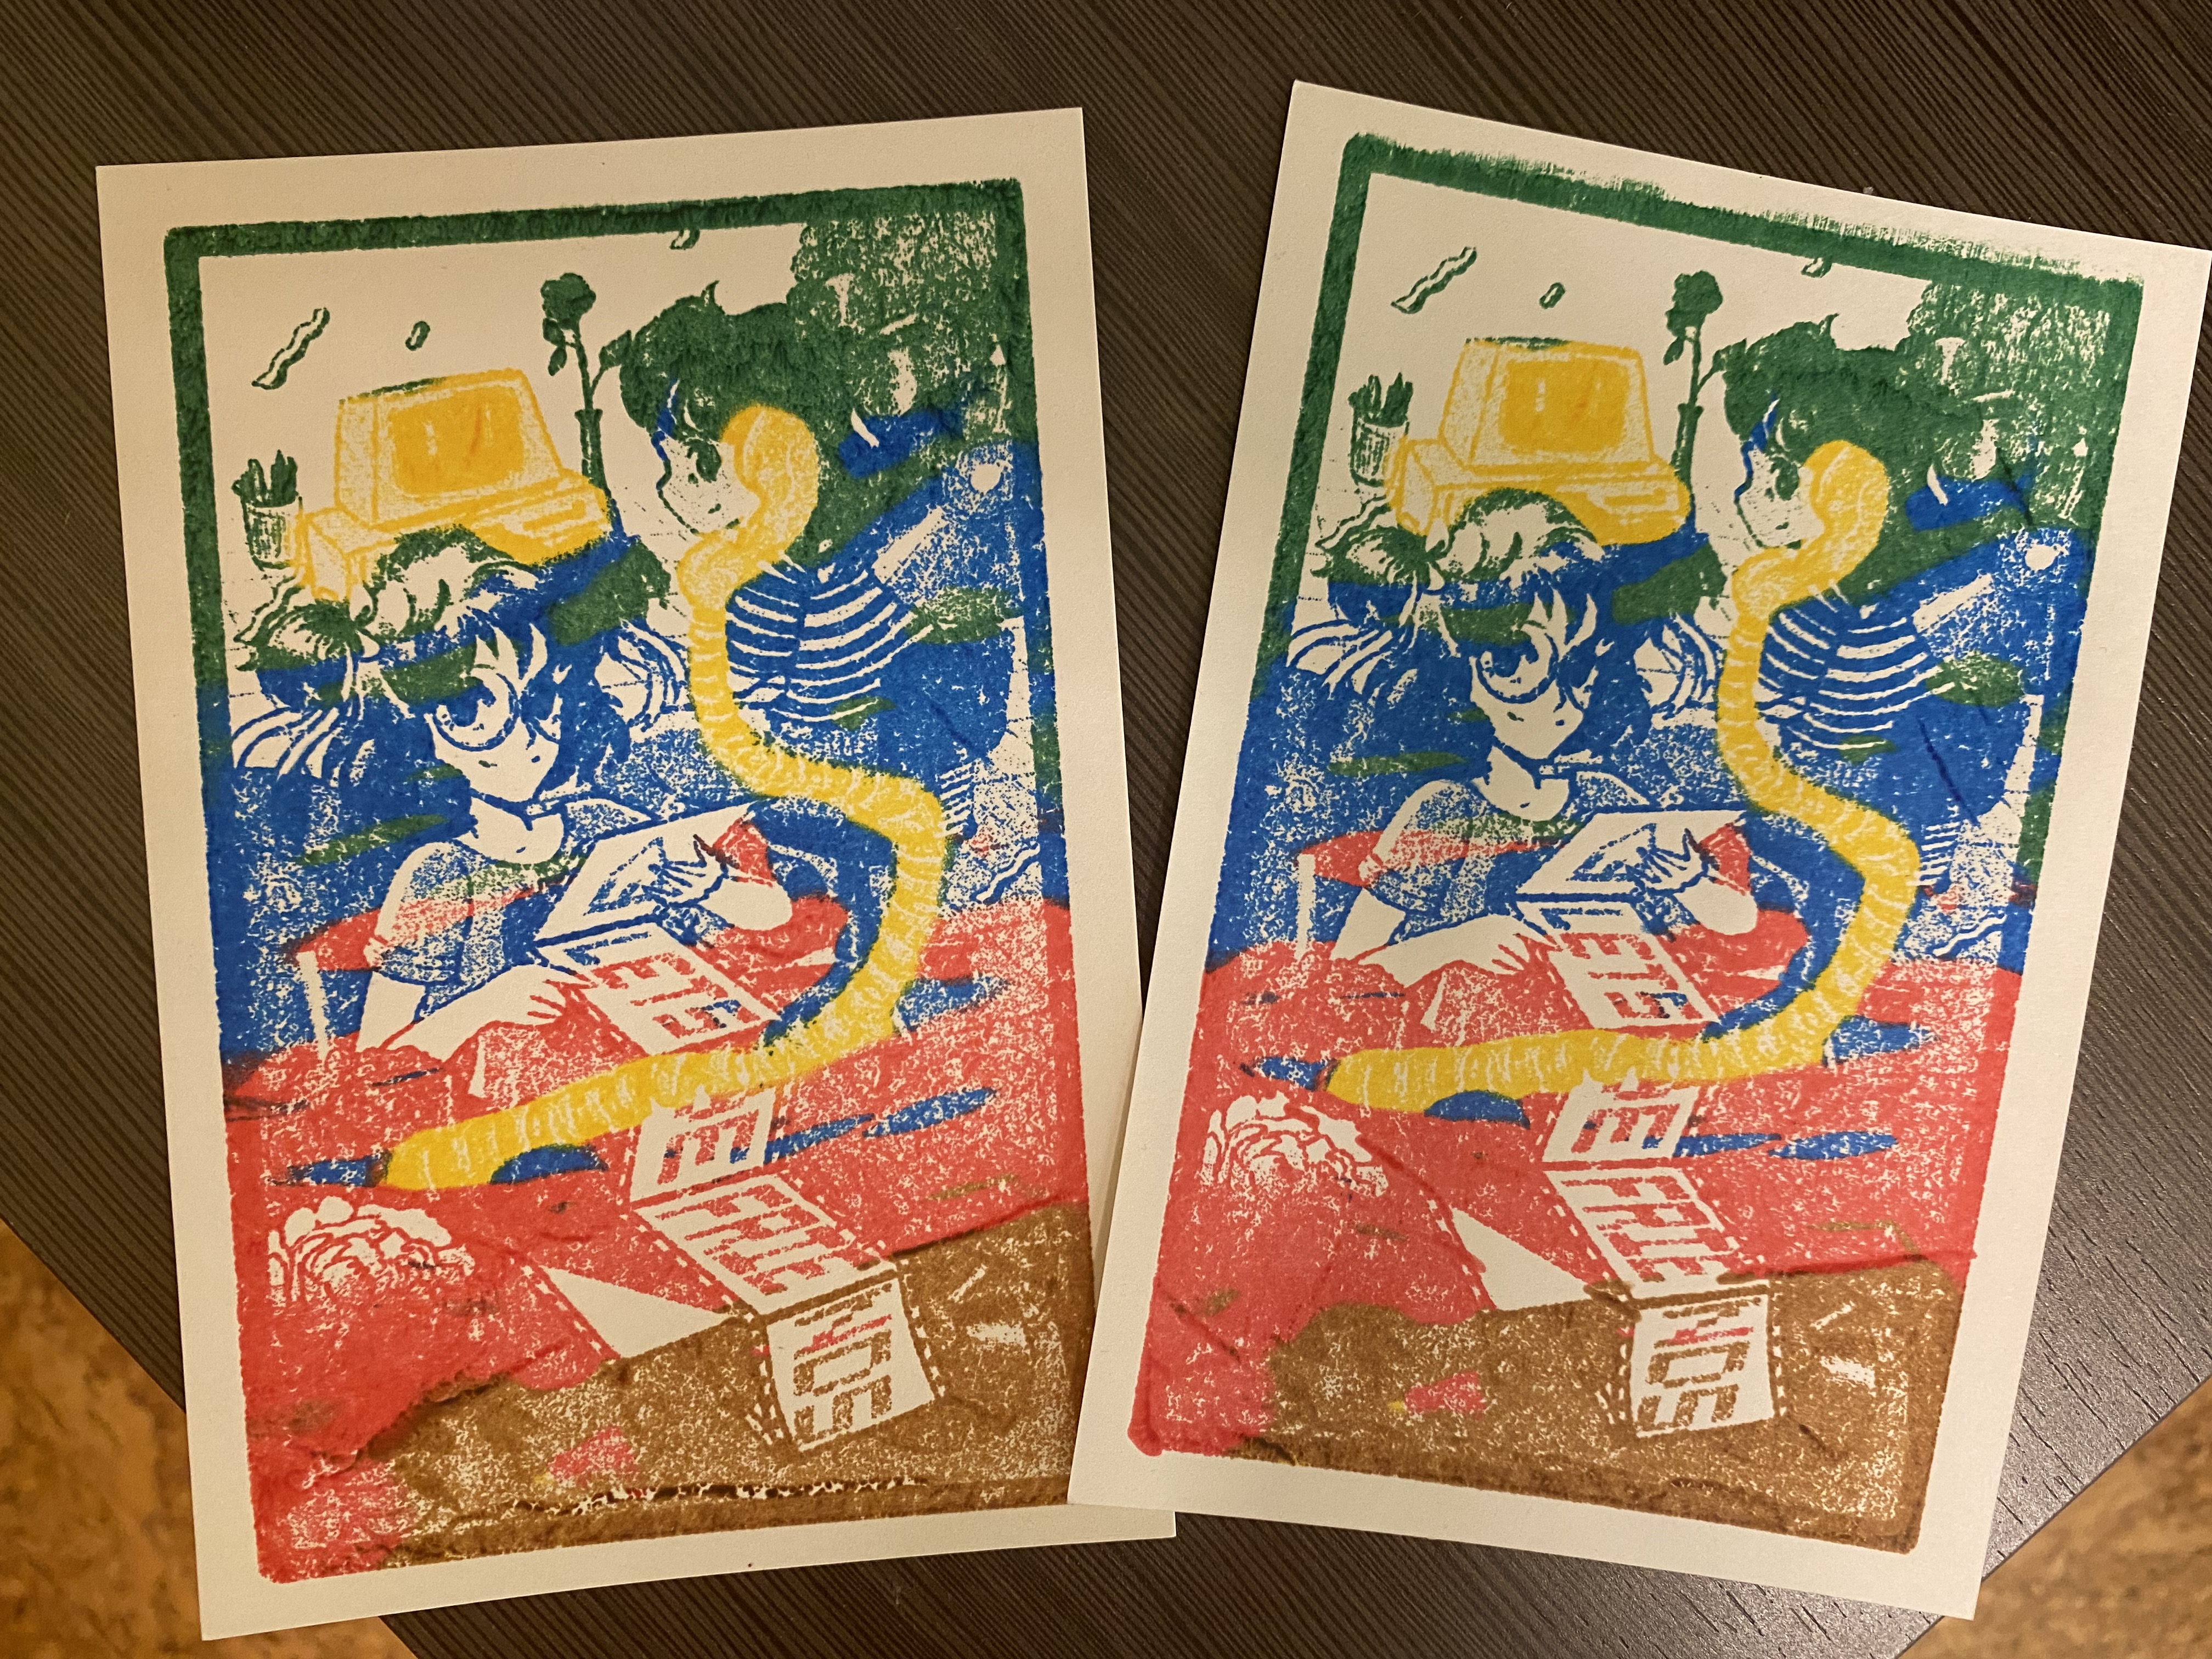
I cut and adhered a square of Risograph master to a blank shipping label and cautiously fed it into the machine, which connects to a computer via USB to get image data. Using the same illustration from before, I clicked "Print" and held my breath. The label emerged in less than a second. And much to my surprise, the illustration was perfectly burned on to the Risograph master with unbelieveable detail. It worked! Holy shit, it worked.
Next steps
Stay tuned for a follow-up post describing my experiments using these stencils to create art prints at home. (Update: Read part 2 here!)